
Page Navigation
- From the Admin portal, click to expand the Organization menu item, then click Credentials.

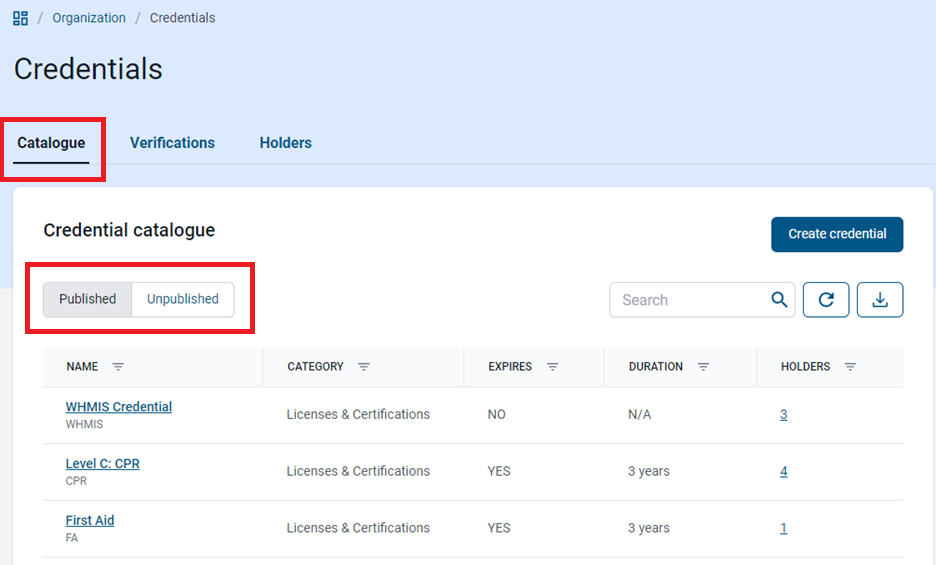
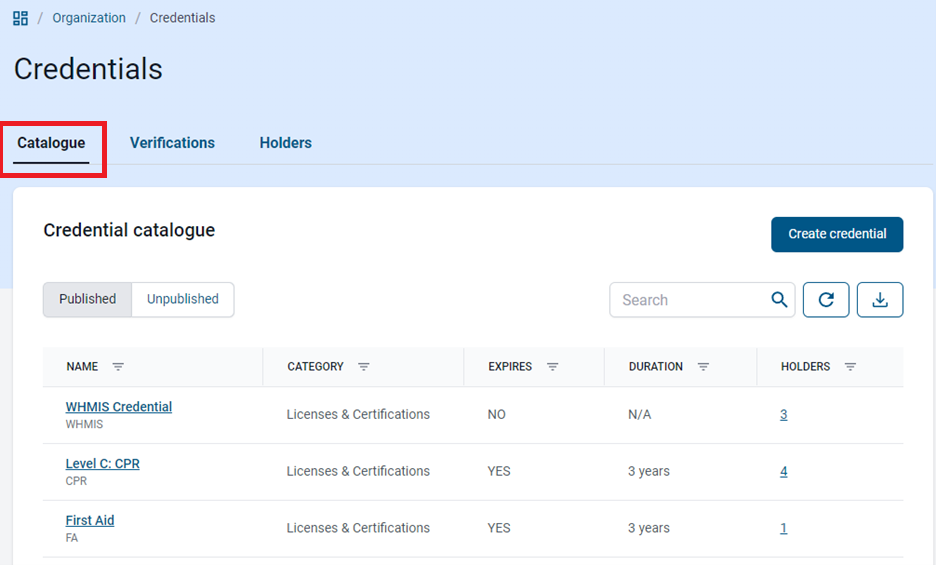
- This will open to the Credentials section with 3 tabs to choose from.
- Catalogue – a listing of all credentials created and managed by your company.
- Verifications – any time a user adds one of your credentials to their wallet the verification request will show here.
- Holders – a listing of all holders of your company’s credentials.

- The first tab is the Credential Catalogue. The list displays the credential name, category, and expiry details, along with the number of active holders of each credential. The Published and Unpublished toggle switches the display between credentials that can be assigned or claimed and those that are currently only available in draft versions.
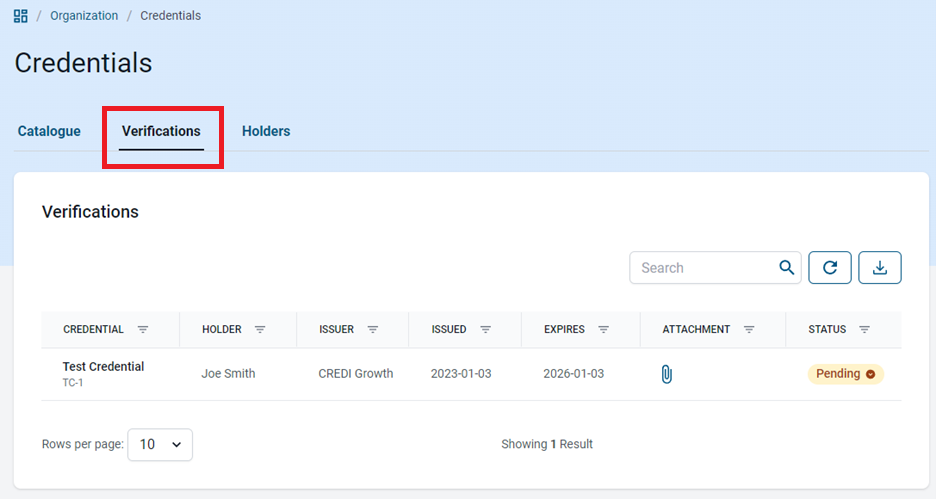
- The second tab is for Verifications. Any time a person claims one of your ORG credentials by adding it to their wallet, the request to verify the status will appear in this listing.
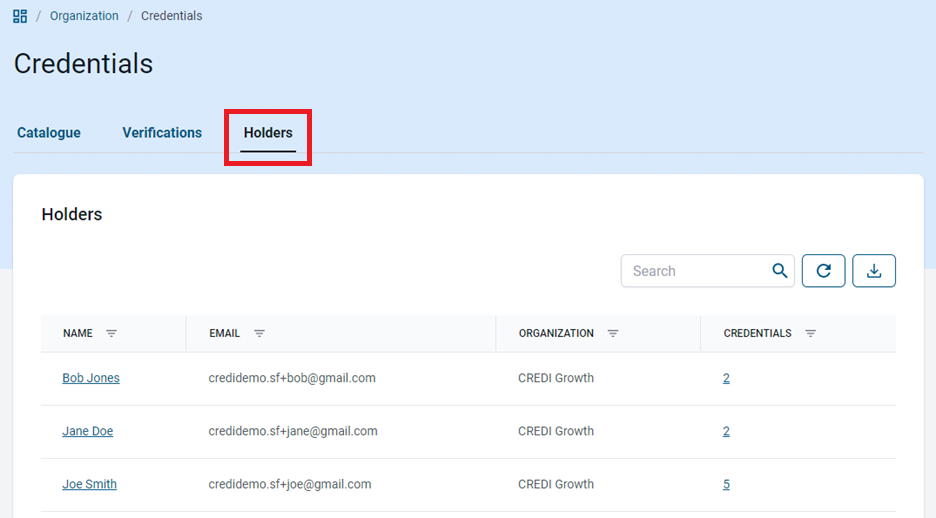
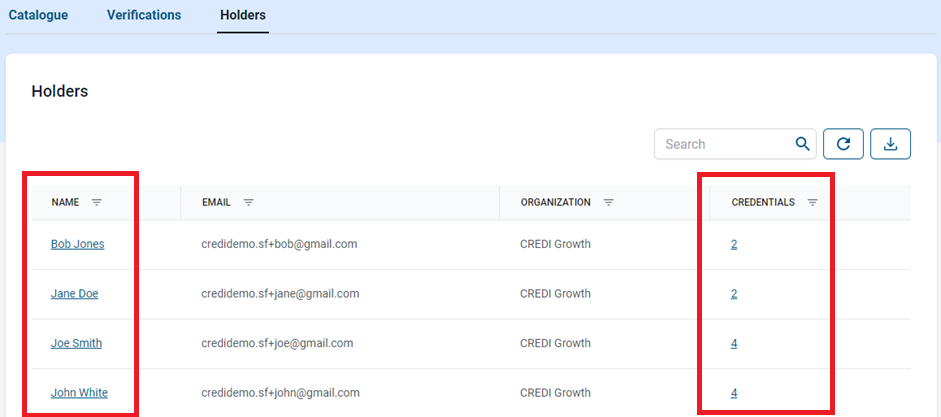
- The third tab is Holders. Under this tab, you will be presented with a listing of people that hold one or more of your credentials.
Create A Credential
- From the Admin portal, click to expand the Organization menu item, then click Credentials.
- This will open the Credential Catalogue. To create a new credential, click Create credential in the top right corner of the screen.
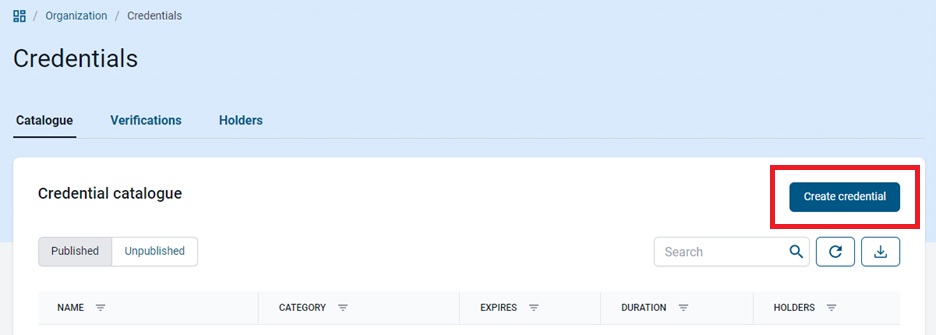
- This will open a window with detail fields to be completed based on the details, conditions, and terms for your credential. These are done in 3 steps.
- Step 1 – Publicly displayed information
- Name – this is the publicly displayed name for the credential.
- Credential Code (optional) – this is generally used as an identifier based on your ORG’s needs.
- Description (optional) – a description of the qualification, competence, or authority issued to an individual holding this credential.
- Skills (optional) – the applicable skills developed by an individual who has earned this credential.
- Credential Image (optional) – secondary image, main ORG logo will also be part of the credential
- Step 2 – Credential attributes
- Category – what type of credential is being created, 5 currently available via drop down menu.
- Status – if set to “Published” the credential can be selected for addition to a user’s wallet. If Unpublished the credential is still in a draft form and not selectable for claiming.
- Verifiable credential – this setting creates a “Verifiable Credential”. This type of credential is discussed in Credentials - Advanced.
- Expires – does the credential have an expiration period?
- Auto-verify – will the credential be auto-verified when claimed by an individual to their wallet?
- Issued date – is this field required to claim the credential?
- Step 3 – Security
- Restrict access – This setting is used to restrict who in your ORG can manage or assign the credential to others as well as who can view certain details of the credentials including the attachments. This access can be designated by role or by specific individuals within your ORG.
- Step 1 – Publicly displayed information
- Review the details you entered for each step in the tables above after each step.

- Click Save credential at the bottom of the window to save what you have created.
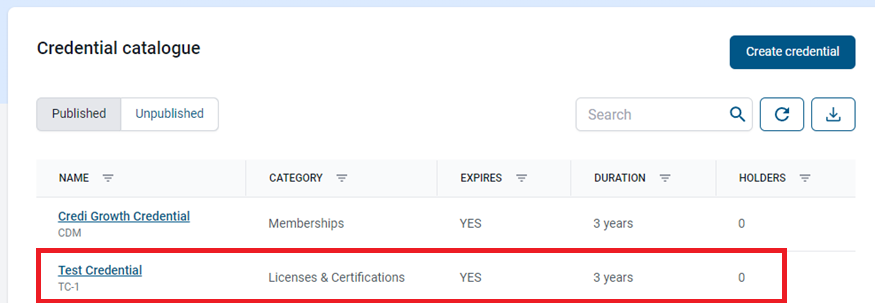
- Your credential will now be visible in the full list of credentials your organization issues and available to be selected by or assigned to Individuals by a SuperAdmin.
Assign/Revoke A Credential
- From the Admin portal, expand the Organization menu item, then click Credentials to open the Credential Catalogue.
- To assign a credential to multiple individuals at once, click on the underlined name of the credential to be assigned.

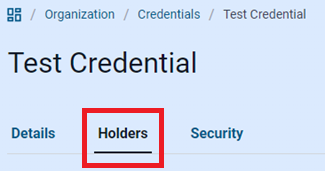
- This will open the Details page of the credential. Select the Holders tab to assign the credential.
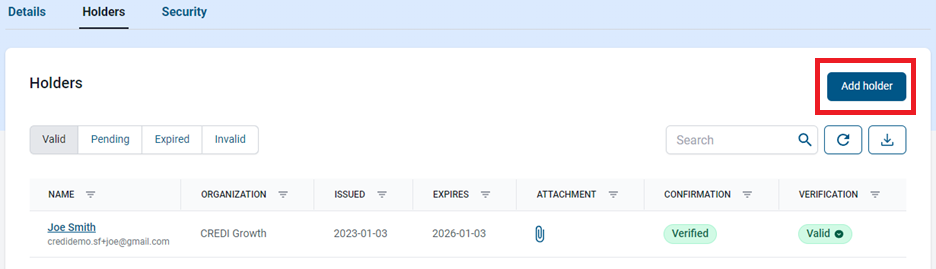
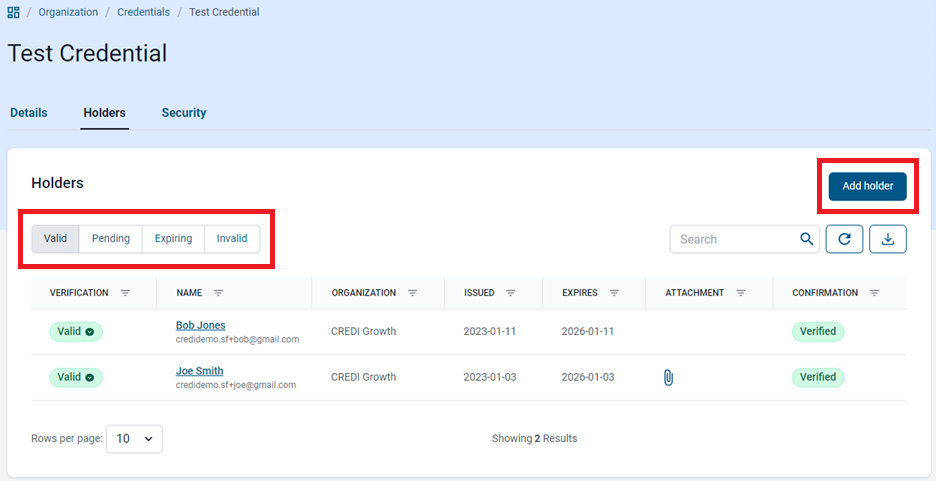
- You will now see a list of all current Holders of this credential. Click the Add holder button to open the assigning window.
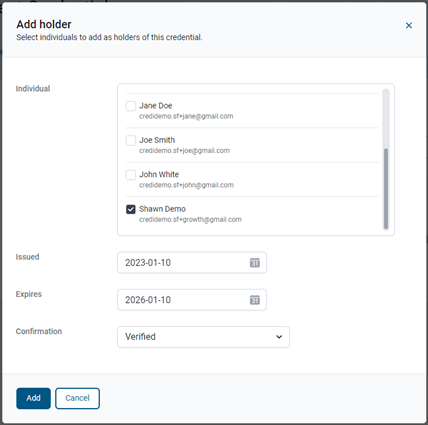
- Within this window, you can select one or more people at a time to assign the credential to. Select the Individual, the date Issued, and the Confirmation state of the credential. The Expiry date will auto-fill based on the parameters created for the credential being assigned.
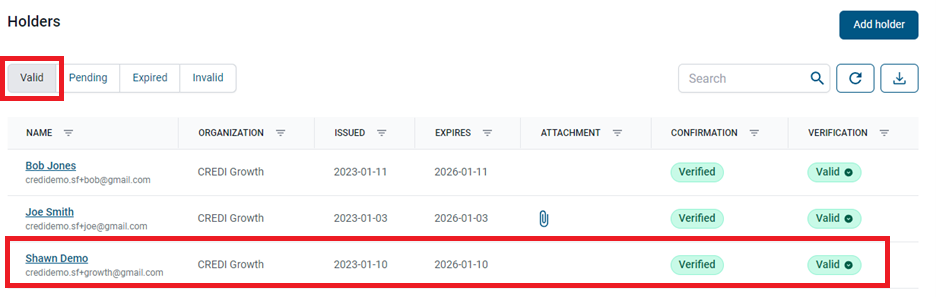
- The Individual you assigned the credential to will now appear under the corresponding Holder status list view.
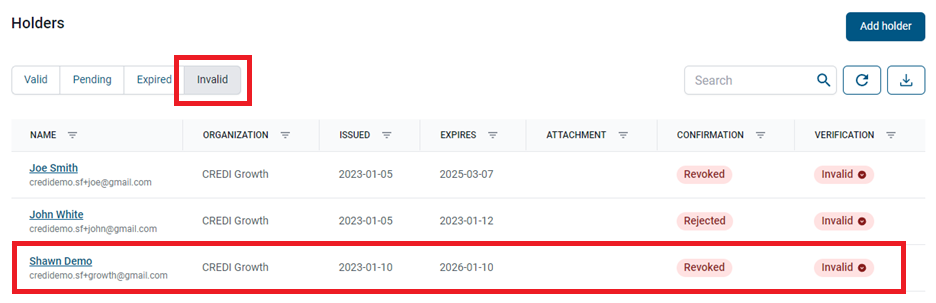
- To Revoke a credential, click on the Verification status drop-down, select Revoked and then click Update.

- The credential holder will be removed from the Valid list and will now appear under the Invalid
- If the user has shared the credential, it will now display as Revoked anywhere it is publicly viewable.

Verifications
- From the Credentials page select the Verifications tab to see the list of credentials awaiting verification.

- You will be presented with a list of people and specific information about the credentials that they have added to their wallet.

- Click on the paper clip icon to view the attachment to confirm the submission matches the certificate information entered if required as part of your verification process.

- Once a determination has been made on the validity of the submission, click on Pending and select a status for the submission.

- In the list that opens select a status that corresponds to the validity of the submission and click Update.

- Once the process is completed, you will be presented with the following message. If Verified, the individual will now appear under the Holders tab and be associated with that credential.

- Repeat this process for each submission awaiting verification.
Manage Holders
The Holders tab will provide a listing of everyone that has claimed or had one of your credentials assigned to their wallet. From this list, you can also apply a credential to holders individually or in bulk or revoke a credential from a holder as needed.
- Click on the Holders tab within the Credentials page.

- You will be presented with a listing of Individuals that hold one or more of your credentials in their wallet. Clicking on the name of an Individual will take you to the details of their user account. Click on the number under the Credentials column to see which of your organization's credentials they hold.
- Within the Individual’s credential window, you can see the specific credentials held, their status, and the attachments included with each.

- To manage holders for a specific credential, click on the name of that credential and then select the Holders From this page you view all holders based on the state of their certification using the Valid/Pending/Expired/Invalid toggle or add the credential to individual wallets using the Add holder button.
- Step