
Page Navigation
- Within the Admin portal, expand Organization and select Individuals from the left side menu.

- This will open a list of all individuals that are a part of your organization.
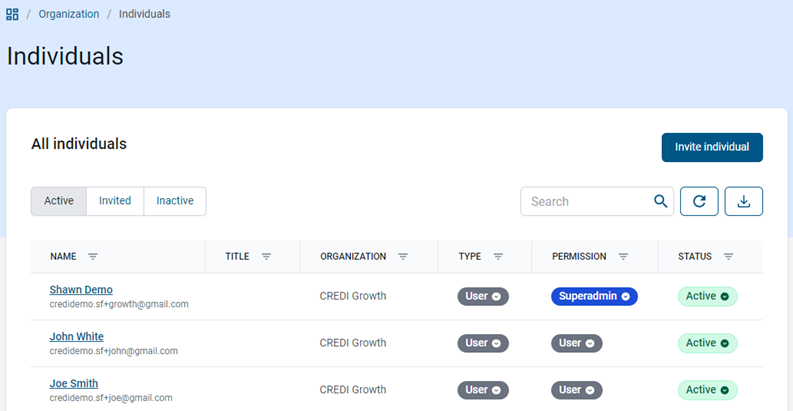
- The screen can display Individual lists of users in 3 states depending on the toggle selection in the top right of the window.
- Active – Individuals that can be reviewed and managed within the system.
- Invited – Individuals that have been invited but have not yet accepted the invitation and created a password for access
- Inactive – Users that have been removed from the active system by an administrator.

Invite Individuals
- From the Individuals page click Invite individual.

- In the window that opens, begin by entering the first/last name, Job title (optional), and email address of the new user. Then select the user type, their permission level, and which Assignment they are to be added to initially. The default assignment will be selected automatically.

- You have the option of not sending an invite when you add an individual. This can be done to preload a user prior to giving them access to the system.

- If you suppress the invite the Individual will display as Pending under the Invited tab. You need to go to the Individual directly and select Send invitation when ready.

- After completing the invite process a plain text email will be sent to the email address with links to ACCEPT or DECLINE the invite along with a link to the Terms and Conditions. The invite will remain active for 7 days. After which a new invite must be sent if it has not been actioned by the invitee.

- After an individual has been invited, you will see a confirmation message stating an invite has been sent and you will be able to monitor the status of the invite process. You can view this status by clicking the Invited tab under Individuals.

- You can cancel the invitation or resend it at any point in the process by clicking the STATUS drop-down.

- Once the Individual has accepted the invitation, they will appear under the Active users list and their STATUS will turn to green.

- Once an Individual has become part of the Active users list they can be placed in Assignments, given Requirements, and acknowledge documents among other interactions.
Invite Individuals Using Bulk Invite
- From the Individuals page click Invite individual and then select Bulk in the Method section at the top of the window.

- The next portion of this window provides a link for downloading the “bulk invite template.xlsx”. Open the template and fill out each individuals first name, last name, and email address, 1 entry per row, and save the file. Once completed use the browse files link to upload it into this window.

- After uploading your template select the User Type, Permission level, and the Assignment for these Individuals. These settings will apply to all Individuals included in the template. Finally, select whether to send or suppress the invitations and click Invite.

- A plain text email will be sent to each of the email addresses with links to ACCEPT or DECLINE the invite along with a link to the Terms and Conditions. You can monitor the status of multiple invitees under INDIVIDUALS.

Change Individual Permissions
- There are six levels of access that you can grant to an individual. Each level includes the permissions of the previous level and adds view and/or edit rights. You can view the permission level of all individuals in your organization under Individuals in the Permissions column of the user list.
- USER - Can view their own Wallet and Documents, Assignments or Requirements assigned to them by a system administrator.
- AUDITOR - Like a User but adds the ability to view the credentials of all Individuals within the organization.
- MANAGER - Can see an overview of all the information for the Assignments they are part of but cannot edit the information within.
- ADMIN - Like a Manager, but includes the ability to edit the details of the Assignments they are part of.
- GLOBAL ADMIN - Can manage, edit and create Assignments within an organization.
- SUPERADMIN - Complete access to all administrative functions and configuration items for the organization.
- Click the Permission drop-down for the user you want to change.

- From the drop-down, select the new permission level for the Individual and click Update.

- The new permission level will be displayed in the Individuals list.

Archive An Individual
- Within the Admin portal, click Individuals and click on the Status drop-down for the person you want to archive.

- Change the status of the Individual to Inactive and click Update.

- The Individual will no longer appear in the Active user list and will not be able to access the system via a login. Select the Inactive list and they will now appear there with their updated status.

- To re-activate the user, select the Status drop-down again, select Active, and then Update.

- The Individual will now appear in the Active users list again with all their previous information and settings restored as they were when made Inactive. Their system access via login will have been restored at the same time.
